While I enjoy flying at night with the fancy kite lights, it is bothersome to attach and remove them. I found many times I was putting off flying because of the effort of attaching them, and once attached, I’d avoid the effort of removing them even when it meant flying a less-than-ideal kite. So with a bit of prodding, I’ve made some kites to permanently host the lights.
Originally this was a running commentary about building the kites and lessons learned along the way. While updating this article every few days, I’ve also been keeping a running commentary over on KiteLife.com in this discussion topic. Now that the kites are complete I have edited out many of the timeline items that don’t make as much sense.
Before starting the project there was a lot of discussion, planning, and second guessing myself. I thought about how it would be better to buy some good kites (a full sail and a vented quad) and modify them myself. That would be about $800 and only a few hours effort. Building my own would be about $200 and likely about 30 hours effort. In the end, as January came to a close I made several orders for Icarex fabric, kite spars, bridles, end caps, and assorted bits.
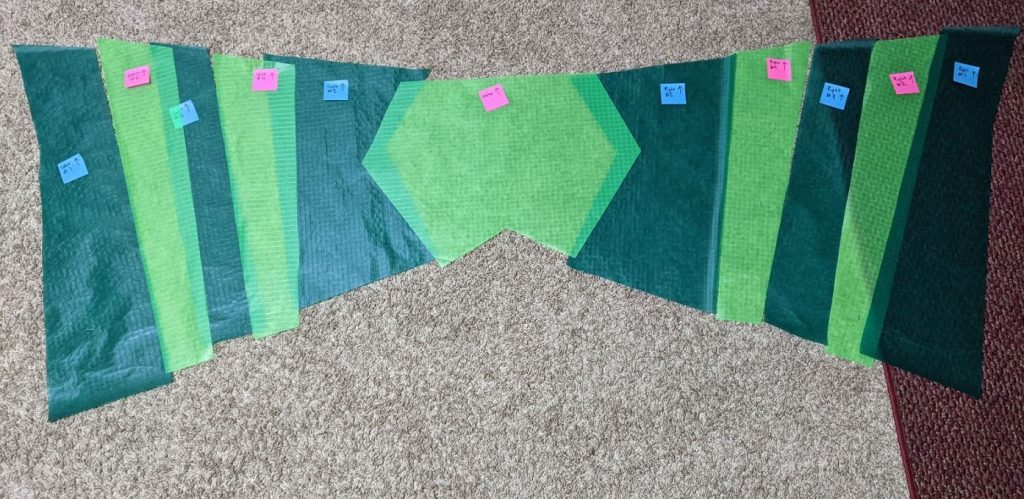
Although I wanted to go with a fancier design, for simplicity I was talked into following a B-series style with flat lines and few panels. Ultimately I decided to go with this scheme:
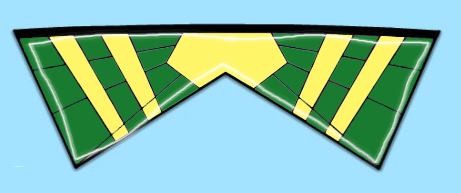
The full sail would be 11 panels. The vented would have mesh in the middle making it 19 panels. Then I would add a border around the edge for the lights shown as a white line above, a central pocket for the processor and battery, and the various assorted trimmings. My leading edge will be white.
Over the two weeks at the end of January and beginning of February I received several boxes, and a giant tube of fabric.
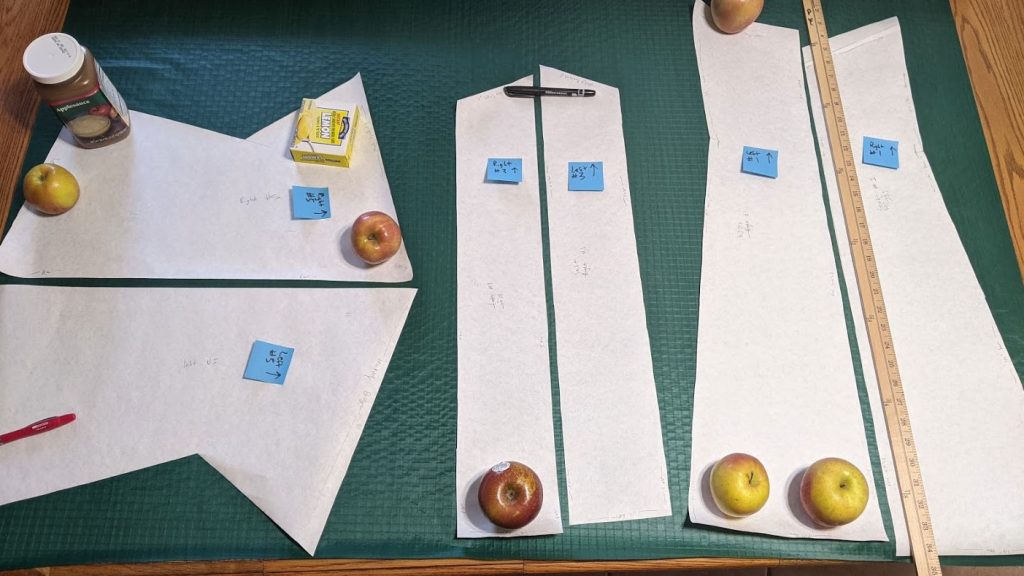
I got the pattern put together February 16th, when a terrible winter storm paralyzed the state. Rolling blackouts, breaking water pipes, and global news as Texas has frozen over. Also my mom died from a battle with cancer, other illnesses, and age, which was fitting the weather and long winter dark. For both problems I’ve got this task to take my mind off things.
Feburary 24th, after two iterations of paper kites to use as the pattern, it is time to stop using paper and start cutting this out of $18/yard (plus shipping) Icarex fabric:
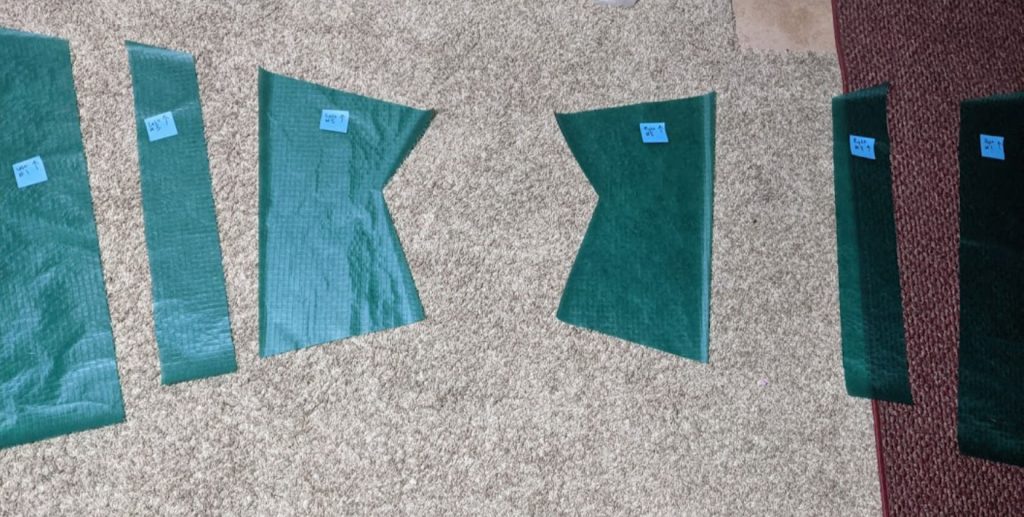
While it looks easy, and I’m sure for someone who sews constantly this would be a quick part of the project, for me it was stressful and slow. Trying to get each piece to be aligned on the fabric properly with the bias direction so the kite will deform with the wind took a lot of time.
So now March 1st, two weeks since starting this project. The work gets done on evenings and weekends so it’s going to take a lot of time.
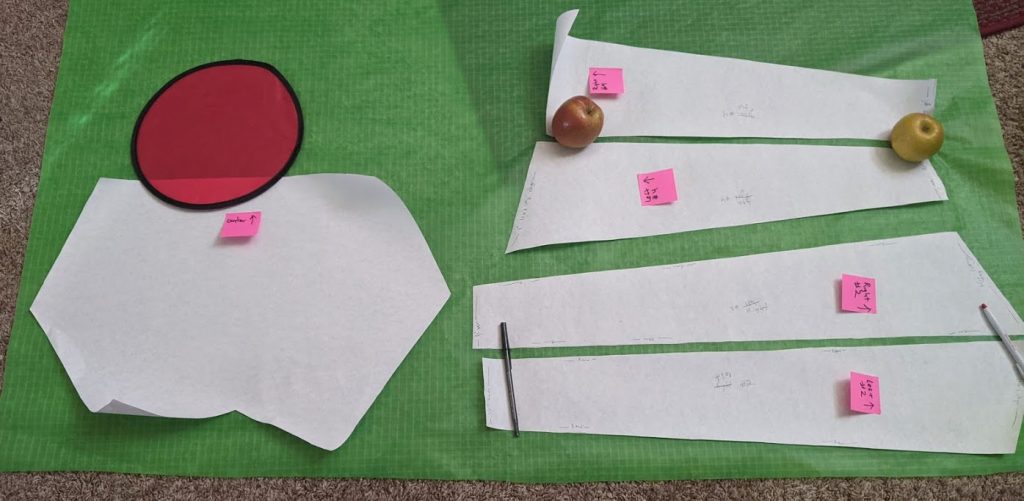
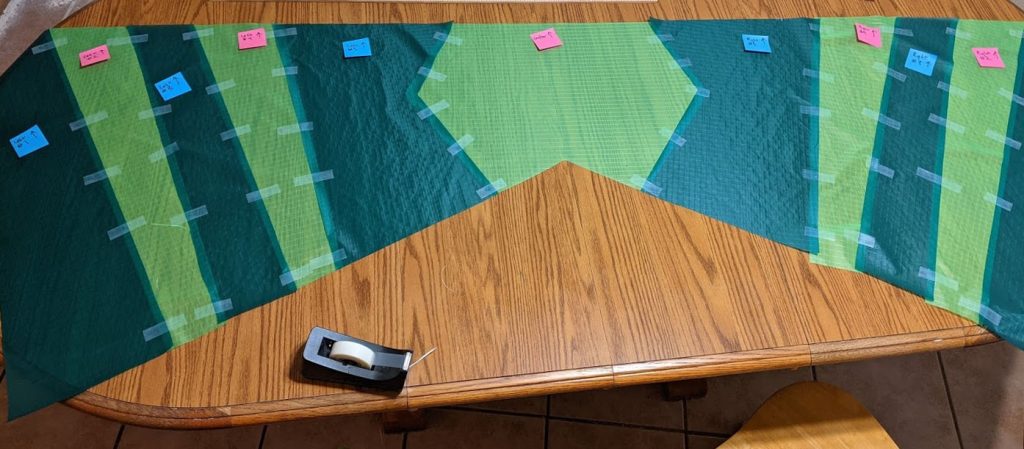
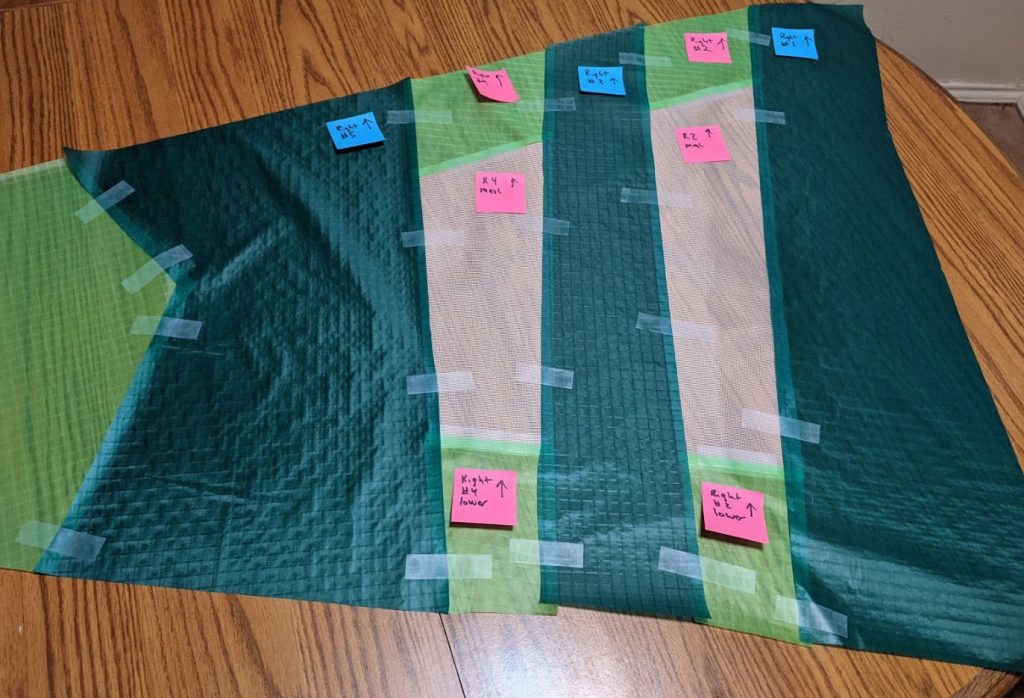
Time to tape together the pieces:
Saturday March 6th, a good day for sewing.
It took some time, but I figured out how to sew the stitches. It took several adjustments of tension, spacing, and other machine settings, but I think I’m ready.
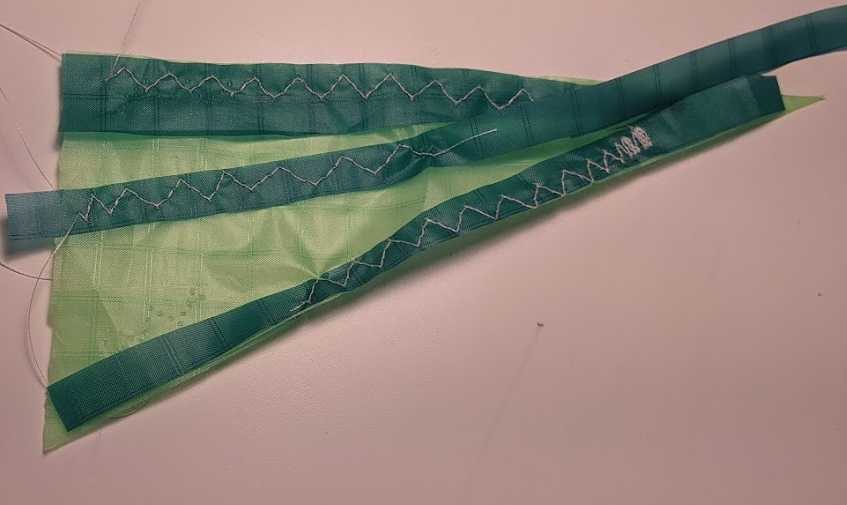
And then the stitching for the first sail:
It has some puckers and isn’t perfect, but it’s the skill level I’m at right now.
I haven’t been tracking my hours carefully, but I’m at around 15 hours total.
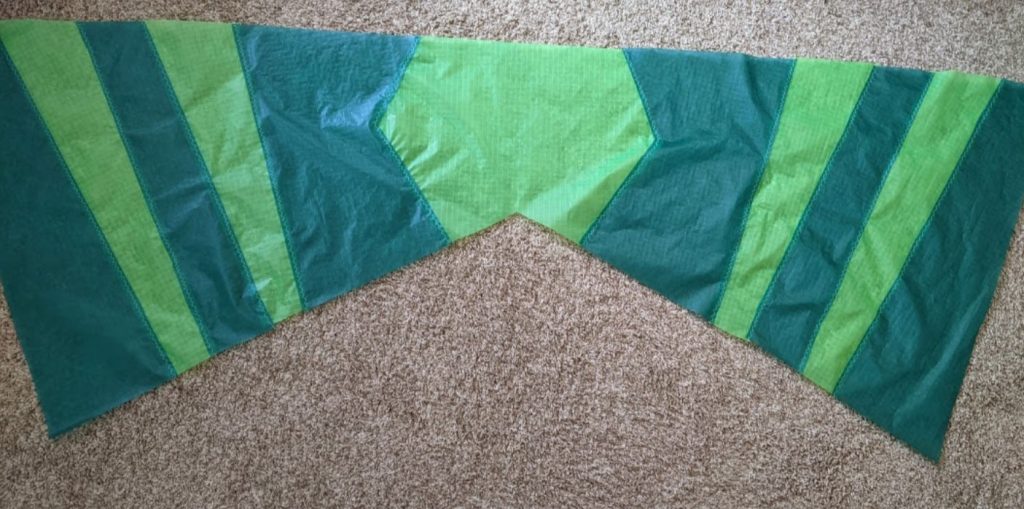
And now that full sail body is sewn together, time to do it all over again with the vented version.

Closeup after the first taping. The uneven edge here is fine as I need to separate them out, stitch the neon to the mesh, then tape the dark green back together for the sewing.
Again, the photos look quick, but cutting out all the pieces and getting them prepped for sewing was another six hours or so, on Monday and Tuesday evenings. Life is hectic, so sewing might need to wait for another weekend.
After some sewing through the weekday evenings, I’m at March 12th and the vented sail body is done.
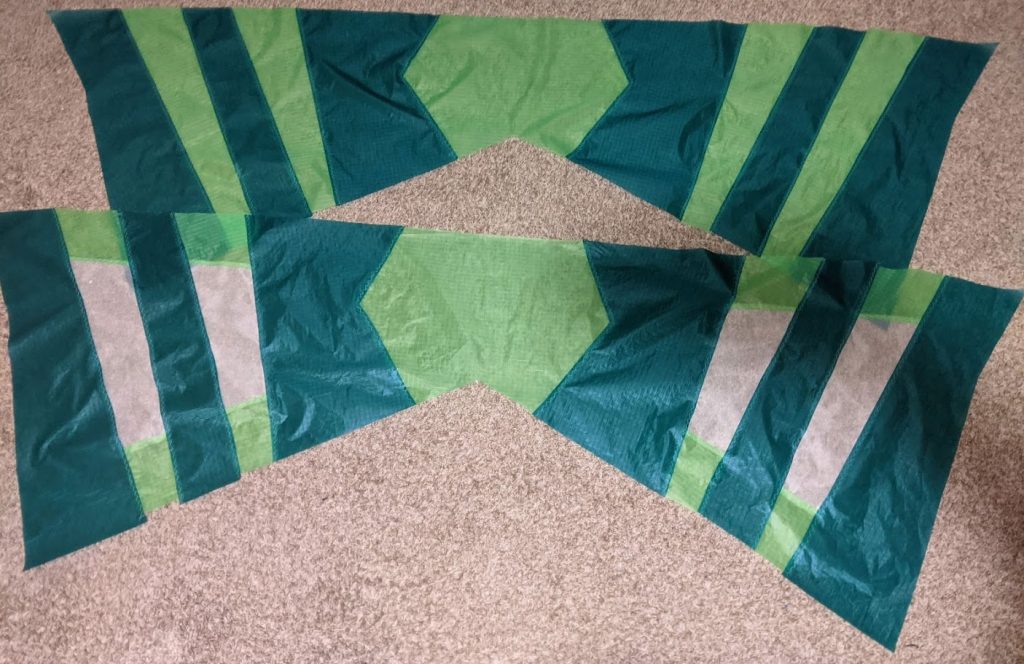
(Camera perspective makes them look different sizes, but overlaying one over the other they’re the same.) The vented sail looks a little nicer to me, it has fewer small puckers in the fabric, but both are well within the tolerance.
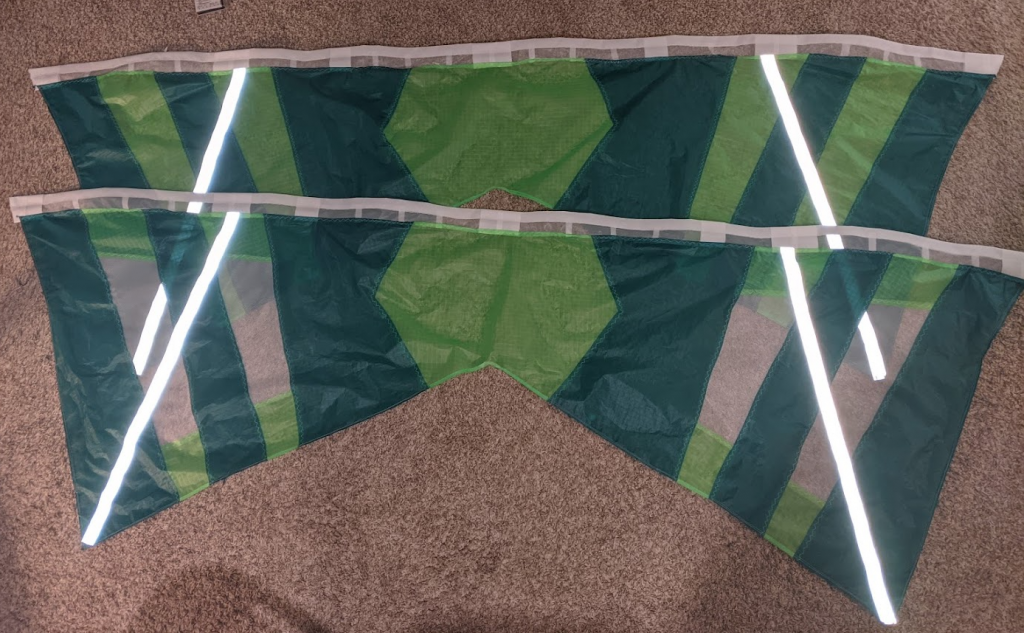
After that, some wear strips, and the leading edge. I also added some retroreflective tape on the front which shines bright white when light is shined directly up. While it would work okay if somebody has their camera pointed up with a flash on — which is a likely situation at night — for the most part the bright strip will show up as a gray band if it is visible at all at night.
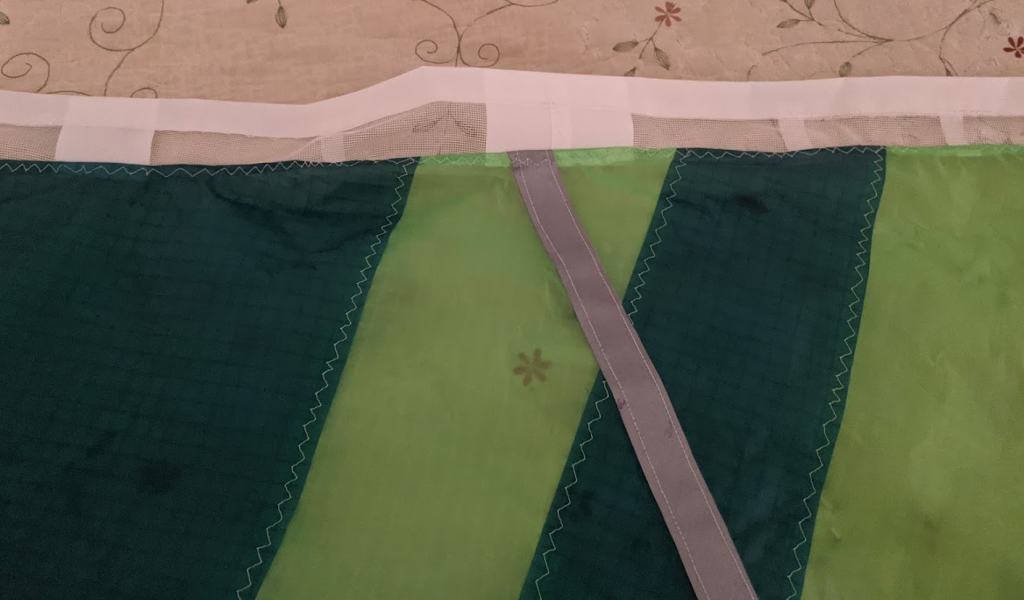
And a closeup, but not with the camera flash turned on
After that, yet another round of sewing to attach the lights under a thin layer, and the pocket to hold the electronics. Endcaps and bungies were added to the wingtips, and all the other little things except the bridle.
Here’s a video clip showing with all the bits and bobs attached:
All total it was about 30 hours to construct both kites, but frequently broken out into short segments, occasionally with weeks at a time gaps and delays.
And after all that, what good is a kite without flying it in the intended conditions? So here’s a half hour of flying and chatting on the beach.